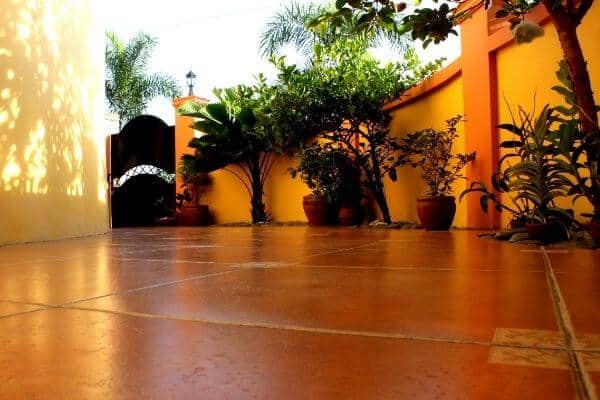
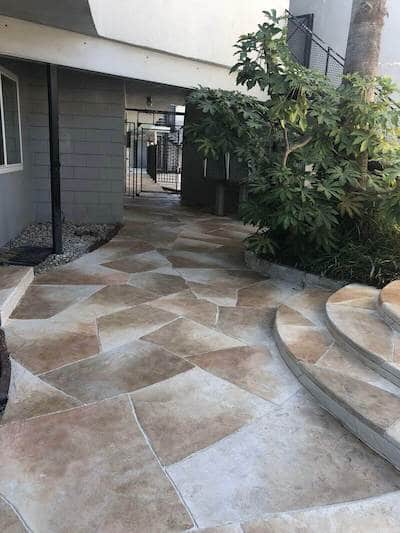
With proper planning and expert hands at work, you can achieve a variety of looks on your concrete surfaces and enhance your space. Concrete stamping is one of those ways. Unlike most decorative coatings and solutions, it’s straightforward to do but follows a series of steps and detailing to get what you want. From our experience at Armor Coatings, a successful concrete stamping project requires those involved to do prior planning, have all the tools and equipment on site before they start, and use their experience and skills to get the job done.
Stamped concrete has a short window to achieve because you can only stamp concrete before it cures. So the bigger the floor surface you have, the more involving it will be, the more stamping tools you might require, and the bigger the workforce you’ll need. In this article, we explain what goes into a concrete stamping process. But before we start, you should understand that this process is better left in the hands of professionals if you are looking for quality work.
Take time to prepare
Stamping concrete requires a lot of planning. The first step of this is to determine the color and texture you want. As a homeowner, you get this by observing what the rest of your property and its environment look like.
After determining the color and how you’ll place your grout lines, test it out before laying concrete. You do this by laying a mat on the surfaces and practice how the stamping will happen. Everyone on the team should witness and get involved in this process. The trial run will guide you on where to place the control joints and stamp the entire concrete surface.
Lay the Concrete
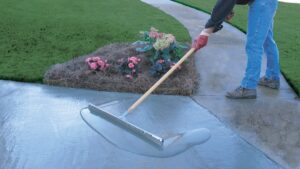
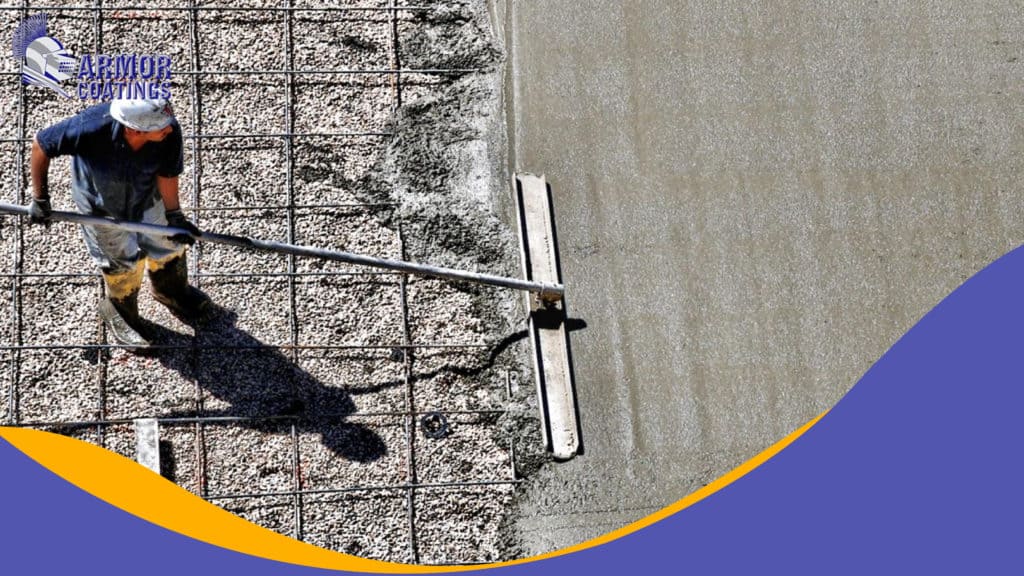
The next step is to lay the concrete and you will need to pour at least 4 inches deep. You want to mix the ingredients in the required measurements by the manufacture to get a quality installation. Sometimes you’ll need to add a slow set that reduces water to give you enough time to carefully stamp your concrete. But be careful that the additive doesn’t contain Calcium Chloride. You also want to avoid any admixture that can tamper with the color of your outcome. Ask around from flooring experts or manufacturers for additives they recommend at this stage. It’s important that the concrete is more than four inches to get enough depth for stamping.
Add the Color
There are two ways you can add color to your concrete. The first one is the integral color which requires you to put the color into your concrete mixture before laying it. So when you lay your concrete in the step above, it will already have the color you want.
Another one is the broadcast method. With this, you add color to your already laid concrete when it reaches elasticity. The elasticity point is when there’s no or little water on the concrete surface. You achieve this by “spraying” the color hardener powder on the surface of the concrete. To avoid losing the material into the air, throw it across as you would a bowling ball. Flick it with your fingers to give your floor surface a light and uniform spread. Doing this avoids the color hardener from building up on sections of the floor.
Make sure you start from the middle of the floor as you move away towards the edges. Typically, the color hardener penetrates 1/8 an inch into your concrete. Give it about ten minutes to adhere to the floor surface and absorb water out of the concrete. While one spread is usually enough if you did the spraying right, you can still do another layer of the color hardener to be sure your work is perfect. Do this in areas you can still see bare concrete.
Apply the Color Release Agent
Get a wide Tampico brush with a long handle to help you apply this release agent on concrete. This powder will improve the contrast of your color and prevent the sticking of your stamping mats. Dip the brush in the pail of the release agent and fluff it in there to get as much release agent as possible on the bristles. Then take the loaded brush and flick it over the concrete floor. Shake it so the agent is spread evenly across the floor.
In general, you want 3.5 lbs of this special formulation for every 100 square feet. Apart from applying it on the floor surface, brush it under the mats as well.
You might want to apply a liquid color release agent. In this regard, use a pump sprayer to apply the solution uniformly before you can stamp it.
All in all, because a certain percentage of the color release agent will remain on the floor surface, choose a color release agent that matches the hue of your color of choice. If you go with dark tones, your outcome will increase shadowing and make the color deeper.
Test if Your Concrete is Ready for Stamping
You have to be careful not to start stamping too early or too late. If you start to stamp earlier than it should, the concrete will not be firm enough to handle the stamping process. That’s a recipe for doing a messy stamp job. If you take too long to begin to stamp, you’ll have to work harder than necessary to get the stamp marks on the floor. Further delay as you stamp one end of your floor makes stamping impossible towards the end of the process.
To test your concrete, finger it in various spots to see how it responds. If you can manage a quarter an inch, that’s a good place to begin the stamping. If that’s not an option for you, take one of your stamp mats, place it in one corner of your floor and step on it. It should hold your weight without sinking or sliding and be soft enough to make stamping quick and easy.
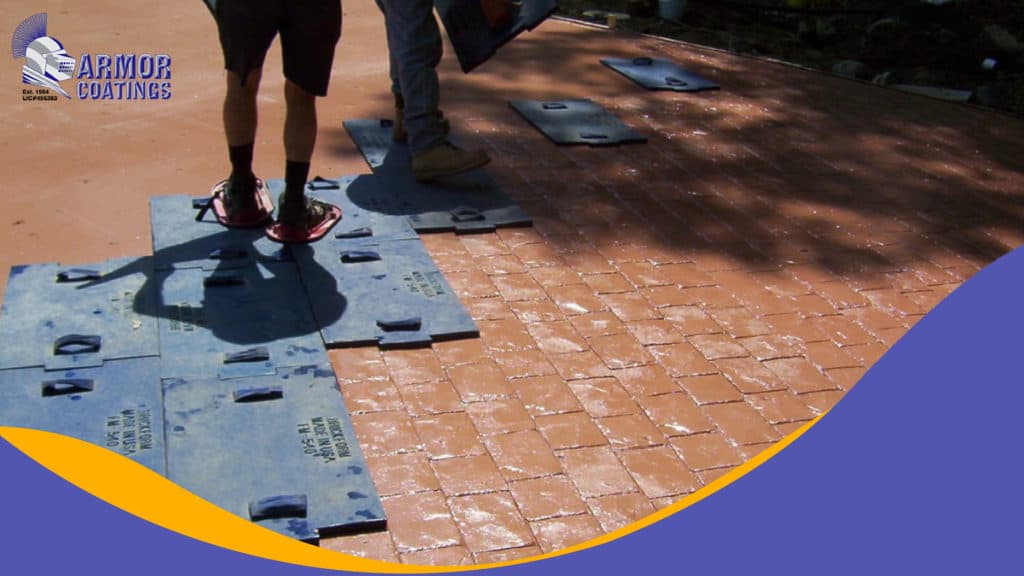
Texture the Concrete Surface
Pre- texturing your floor surface along the perimeter ensures that your stamping material properly lies across the floor. You can use a texturing skin or a flex mat to do the texturing. A lining string can also help you do the texturing in straight lines.
Use the right Team
For a stamping project to turn out right, enough people need to be working to ensure you don’t lose the chance when the time is right to stamp and to ensure the finish is ideal. This is why the team at Armor Coatings is the team to call. When experienced, like those at Armor Coatings, the team can handle a larger surface than an inexperienced group can, usually about 700 square feet at a time. Every project is usually unique and anyone will need to adapt to any changes as weather and environment can have an effect. As long as the crew is assigned clear responsibilities it will always save on time and ensure satisfactory results.
- The first person should fluff and broadcast the release agent till the end of the project. They can also identify areas that need touch ups and notify the rest of the crew. You can use them to offer general help throughout the installation process.
- The second person will help place the texture mats on the concrete. They should begin with one carefully placed where the project starts (preferably one of the corners) to guide the alignment of the rest of the mats. That means they will place the next mat tightly next to the first one. Doing this helps you avoid messing with stamped lines. Stamps come in all manner of shapes and sizes with guidelines on how to use them. So, follow the recommendations of the manufacture and make use of the sequence labels on them (could be A, B, C, D, or 1, 2, 3, 4)
- The third person will be responsible for tamping. They are supposed to be experienced enough because over tamping can spoil a good job. This individual should tamp the mats straight onto the concrete surface and they need to do it immediately after the mats are placed.
- The fourth person is the remover of the tamped mats. He or she does this by slowly and carefully removing the mats as they hand them to the first individual..
Detail the grout lines and Joints
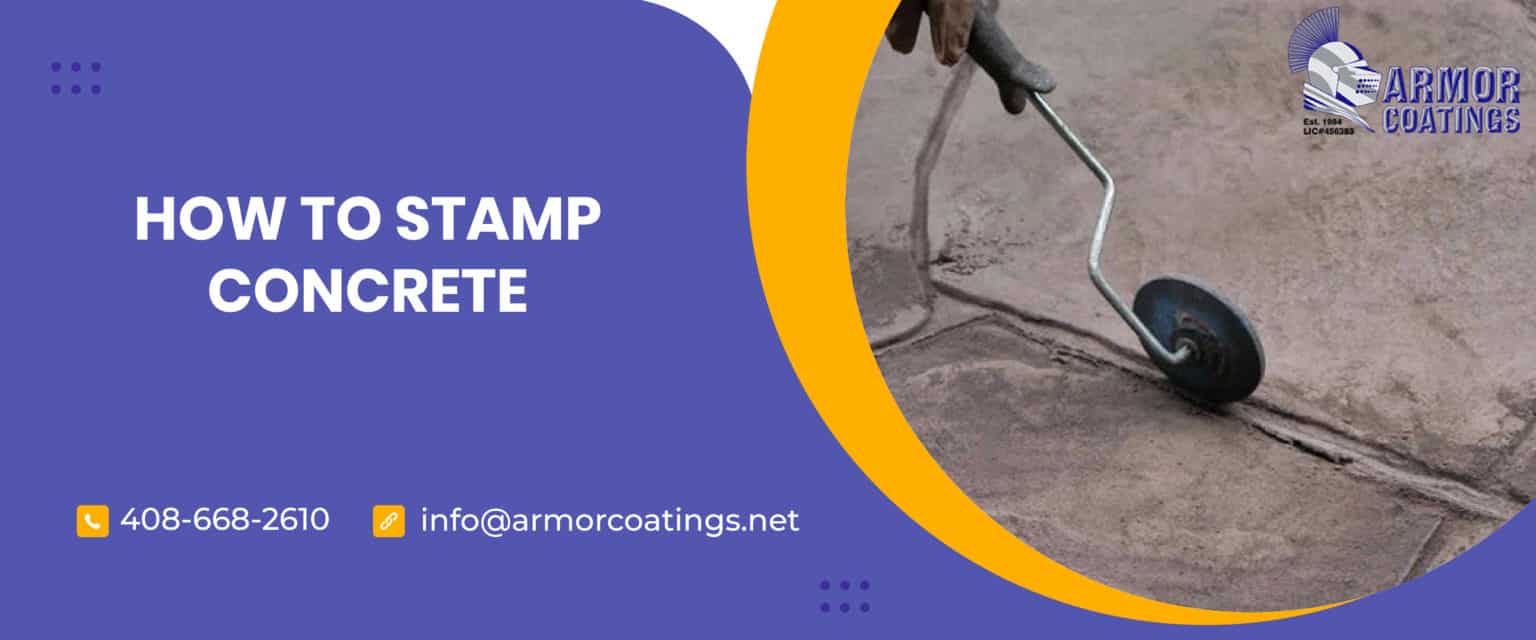
Detailing makes sure that the blurred lines and joints get to appear clearly and the project looks uniform. This is also an opportunity to touch up the flaws on the surface. A texture skin can work as an eraser to help make the floor more even and uniform. You can then re-stamp these areas with the right mat to get quality stamp work.
Finish The Job
Clean Off the Release Agent Residue
If there’s release agent residue left on your floors, you have to remove it before applying a curing agent. It might take a day or two to wash the floor surface and let it dry if the release agent was colored. If it was a clear release agent, you can apply a curing compound on the same day of stamping. A pressure washer can be useful in this process but it needs experienced hands to avoid destroying your fresh concrete installation. Leave behind some release agent residue within the grout lines and joints. Doing this enhances the look of your floor with an aged and shadowed impression. To get the curing right, check the guidelines provided by the manufacture.
Cut Contraction Joints
As the concrete cures, you should install contraction joints a quarter of the depth of your concrete installation. This feature ensures that your concrete has room to expand and contract – a great way to avoid random cracking. Use a groover. If you delay and the concrete is already cured, use a cut off saw. Use a dust mask and goggles to protect yourself from the dust that results from this procedure. Using a saw makes less noticeable joints compared to the grooving tool.
Seal the Concrete Surface
A sealer will only enhance and protect what your floor already looks like. You want your sealer to land on a dry floor. So give the floors enough time to completely dry before you can apply this decorative sealer. Your first application needs to go horizontally then the second coat vertically. By doing this you cover the whole floor evenly and avoid creating unplanned lines on the floor surface. Be careful not to let the sealer build up in the stamped lines and the corners.
Tips for a Successful Stamping Project
- If you are working in an open space, look out for rain. You’d rather postpone your stamped concrete installation to another day when conditions are conducive.
- If you are new to stamping or unfamiliar with the tools in use, practice doing it on the sand before stamping your concrete.
- Using similar patterns across your floor is not a good idea. It won’t look realistic like random patterns.
- Your floor shouldn’t have water when applying a hardener. It reduces the color intensity thus making the work ineffective.
Contact the Stamped Concrete Experts From Armor Coatings
Given the complex nature of stamping concrete, it makes more sense to call flooring experts to do it for you. They not only plan but also execute the stamping process and ensure you produce quality results, in the shortest time possible, and you get value for money. Armor Coatings is the right contractor to call for your work in Florida. We are only a phone call away, so reach out when ready.
