Polishing your concrete is a task best left to flooring experts because it requires the use of high-end machines for grinding and honing concrete floor surfaces. You would also need good expertise and experience to use some of these tools to help you achieve a fine, smooth, and glossy finish.
The concrete polishing process is pretty straightforward. You start by preparing the surface, grinding the concrete, and applying a sealer before eventually polishing it till you achieve the desired result. This article will show you a step-by-step process to achieve it and let you know everything you need to get started.
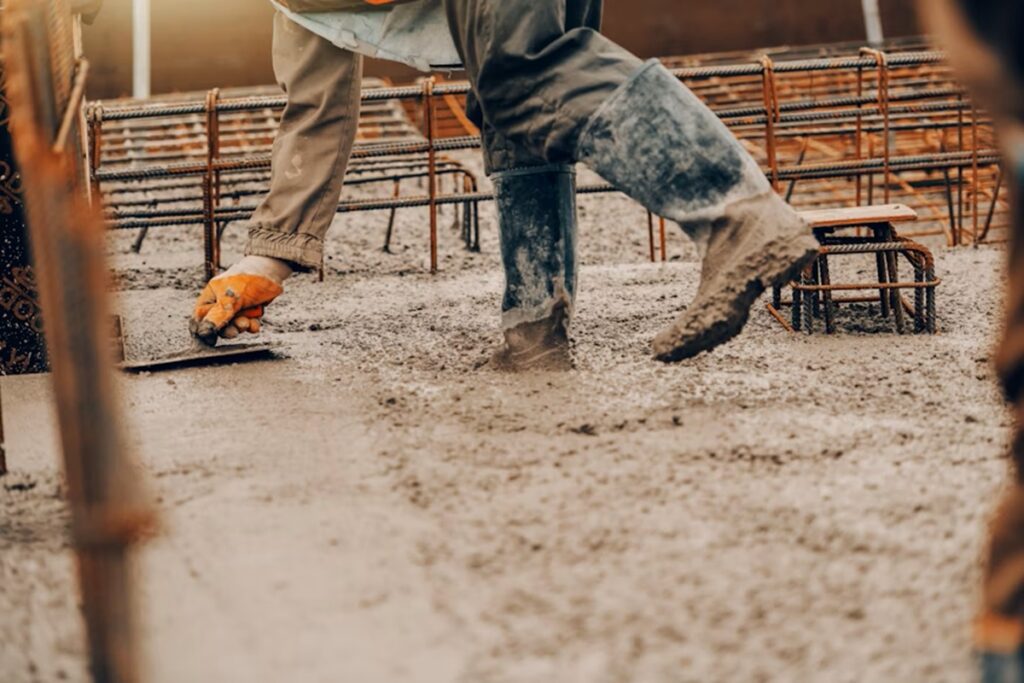
Stage 1: Preparing the surface
Preparation of the concrete floor is one of the most essential steps in concrete polishing. Whatever you do in this stage will determine the excellence of the results you will get.
Cleaning the concrete surface
The first step in your preparation process is thoroughly cleaning the concrete surface. Start by sweeping the surface and ensuring there is no debris or dust. Use a mop and water with a non-toxic soap to wash off any extra dirt and ensure the surface is ready for grinding and honing.
Repairing cracks and damages
Fill out any open holes, cracks, and dents using a concrete crack filler or patching compound. This will help you achieve clean results and eliminate the chances of those holes resurfacing after the polishing process has been completed.
Assessing the hardness of the concrete
The hardness of the concrete can affect the level of shine and clarity that can be achieved, as well as the durability of the polished surface. Concrete hardness is measured on the Mohs scale, which ranges from 1 (softest) to 10 (hardest).
If the concrete is too soft, it may not be able to achieve a high level of shine, and the surface may be more prone to damage and wear over time. Conversely, if the concrete is too hard, achieving a high level of polish may be difficult without damaging the surface or the polishing equipment.
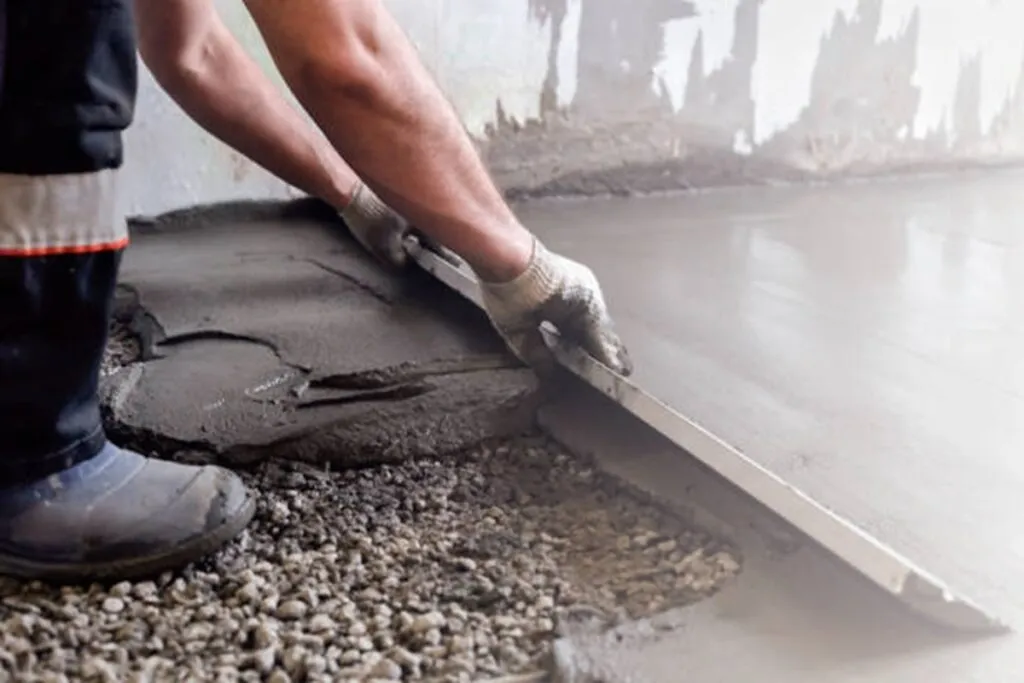
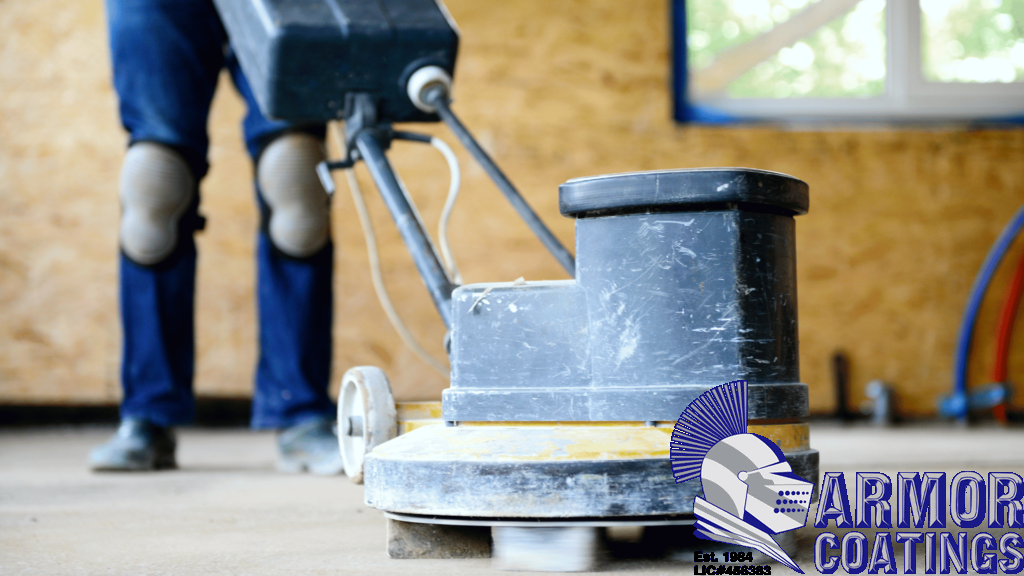
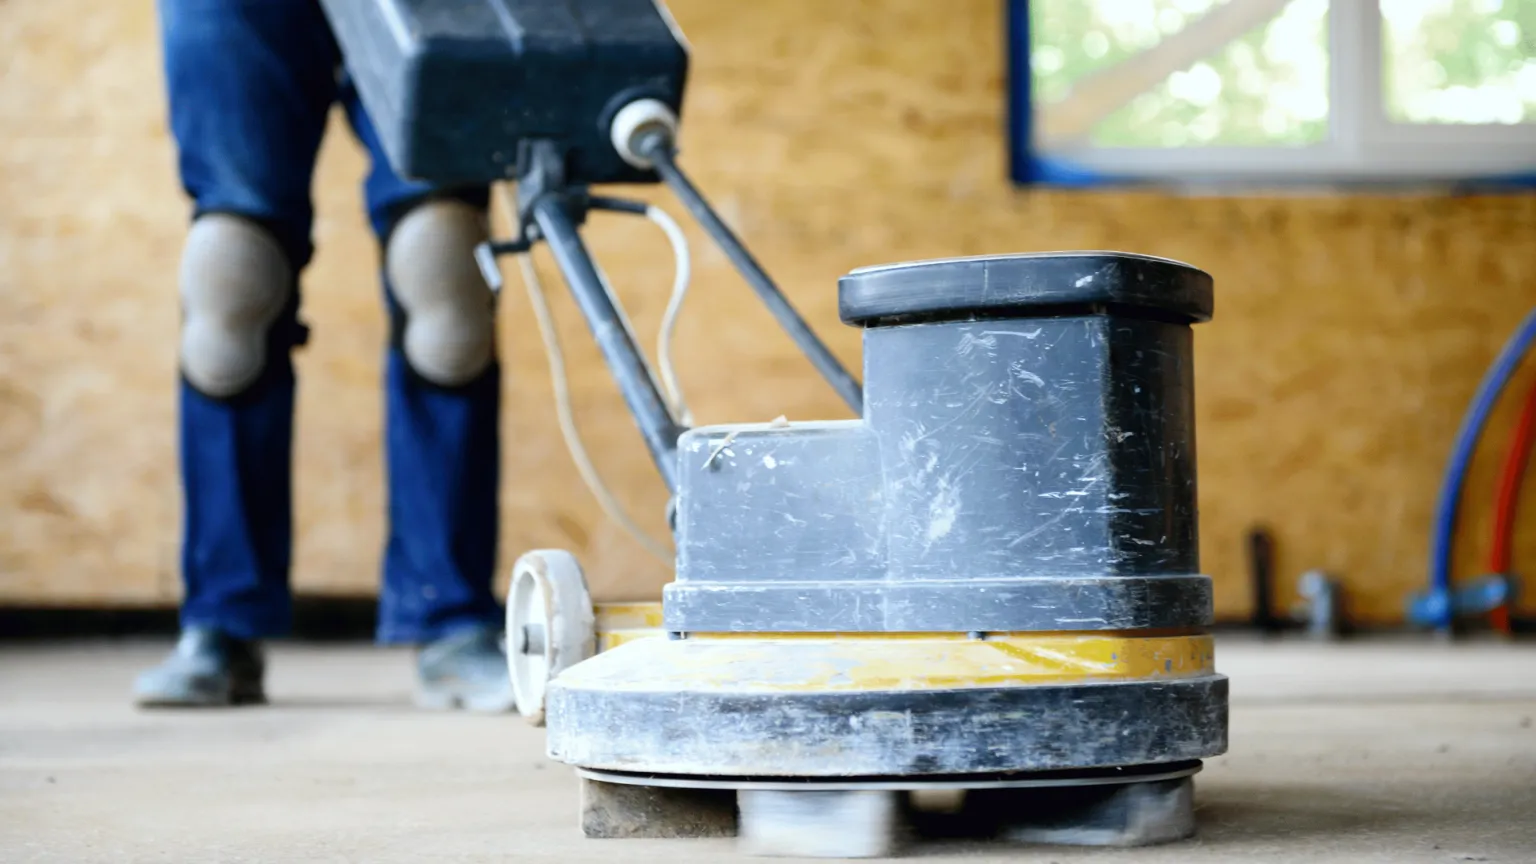
Stage 2: Grinding the concrete
The next stage is ensuring the concrete is ground and honed to ensure a smooth surface ready for polishing. This stage also has a huge impact on the final result. Ensure you have carefully assessed and understood the hardness level of your concrete floor to help you determine the right tools to use.
Selecting the right diamond tools
Choosing the right diamond tools for the concrete’s hardness level assures you of quality of finish, speed and efficiency, durability, safety, and many more. It is crucial to avoid using the wrong tools as they may break during use and endanger the technician. It can also slow down the process as you’ll need to repeatedly grind one area to achieve the desired smoothness level.
Starting with coarse grit and progressing to finer grits
When honing the concrete surface, you must ensure to gradually move from coarse to smooth, and here’s why:
- Coarse grits remove surface imperfections: The initial coarse grits are designed to remove surface imperfections such as scratches, stains, and other blemishes. This is important because if you start with fine grit, you may be unable to remove all the imperfections, resulting in a less-than-perfect finish.
- Coarse grits prepare the surface: Starting with a coarse grit also helps to prepare the surface of the concrete for the subsequent finer grits. It levels the surface and opens up the pores of the concrete, allowing the finer grits to work more effectively.
- Fine grits refine the surface: Once the surface imperfections have been removed, the finer grits are used to refine the surface of the concrete, giving it a smoother and more uniform appearance. The finer grits also remove any remaining scratches or marks left by the coarser grits.
- Fine grits create a glossy finish: The final grits are usually the finest, and they are used to create a glossy, reflective finish on the surface of the concrete. These grits polish the surface to a high shine, giving it a mirror-like appearance.
Wet or dry grinding techniques
Wet grinding involves using water to cool the diamond abrasive tools and to flush away the concrete dust generated during the grinding process. This technique helps to prevent overheating of the tools, which can lead to damage or premature wear. Additionally, wet grinding helps to reduce the amount of airborne dust, making it a safer and cleaner process. Wet grinding is often preferred for larger concrete polishing projects, where the amount of dust generated can be significant.
On the other hand, dry grinding involves grinding the concrete surface without using water. Dry grinding is often used for smaller projects, such as residential floors, where the amount of concrete dust generated is minimal. Dry grinding can be faster than wet grinding, as there is no need to wait for the surface to dry before applying a sealer or polish.
The choice of wet or dry grinding techniques during concrete polishing depends on the specific project requirements and the preference of the contractor or operator.
Stage 3. Applying densifier
A densifier is a chemical solution used to harden the concrete surface during the concrete polishing process. The densifier is typically applied after the initial grinding phase and before the polishing phase.
The purpose of a densifier is to increase the surface hardness, water resistance, durability, smoothness, shine, and aesthetics of the concrete.
When the densifier is applied to the surface, it penetrates the pores of the concrete and reacts with the calcium hydroxide in the cement, creating a calcium silicate hydrate (CSH) gel. This gel fills in the pores and creates a more compact and solid surface, reducing the porosity and increasing the density of the concrete.
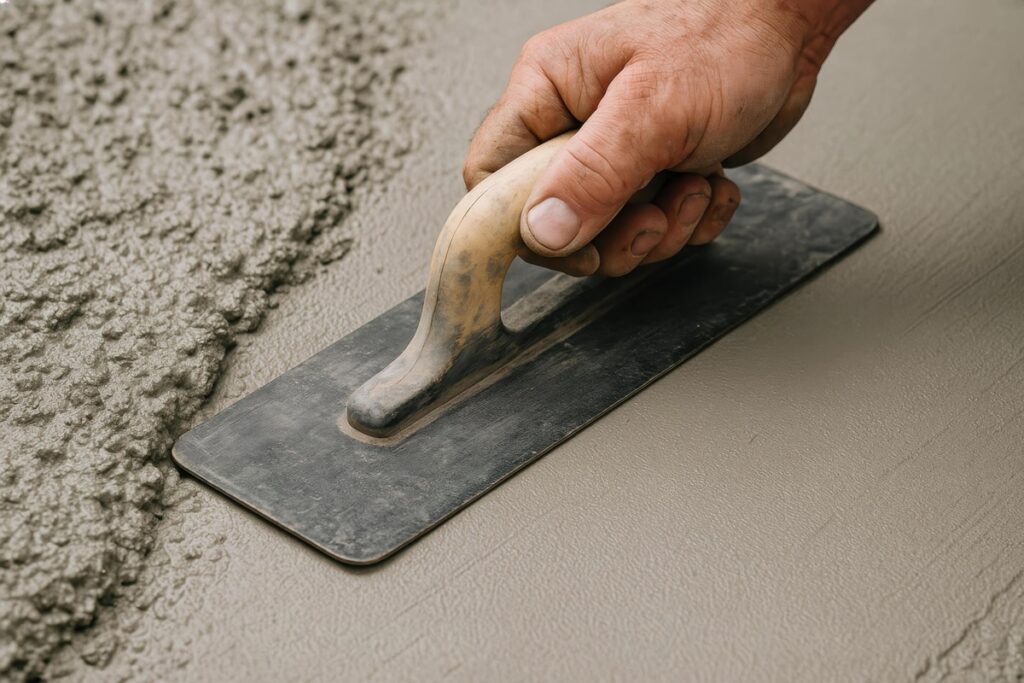
Stage 4: Polishing the concrete
Now, to the interesting part. Follow the instructions below to ensure a beautiful result.
Choosing the right polishing pads
After grinding and honing your surface to prepare for polishing, you must also apply the same level of caution when choosing the right resin-bond diamond pads for the polishing job. Choosing the right polishing pads determines the result you get. It will also impact the efficiency of the polishing process, improve concrete longevity, and enhance safety while working.
Starting with coarse pads and progressing to finer ones
You should start with 100 to 200-grit resin-bond diamond and gradually progress through finer levels of 400-grit, 800-grit, and 1500-grit. You can even increase it to 3000-grit depending on the level of shine and smoothness you want to achieve.
Stage 4: Applying the sealer
Concrete sealers help you achieve a smooth, clear, and fine finish that improves the aesthetics of your concrete floor, prevents moisture, provides easy maintenance and cleaning, prevents cracks and dents, and stops the concrete color from fading.
Choosing the right sealer
Here are some factors to consider when selecting a sealer:
- Type of concrete: The type of concrete used for the project will influence the choice of sealer. For instance, polished concrete floors made with a high-strength mix may require a densifier sealer, while a standard concrete mix may need a penetrating sealer.
- The area to be polished: Outdoor concrete surfaces are exposed to different elements, such as rain and UV rays, and may require a more durable and weather-resistant sealer than indoor surfaces.
- Desired finish: For instance, a glossy finish may require a film-forming sealer, while a matte finish may require a penetrating sealer.
- Maintenance requirements: Some sealers may require more frequent reapplication or more intensive cleaning, which can add to the cost and time involved in maintenance.
- Environmental considerations: Consider whether the sealer is environmentally friendly and complies with any regulations or certifications required by the project.
- Professional recommendations: Consult with a professional concrete polishing contractor or manufacturer for recommendations on the best sealer for your specific project and needs.
Applying sealer in multiple coats
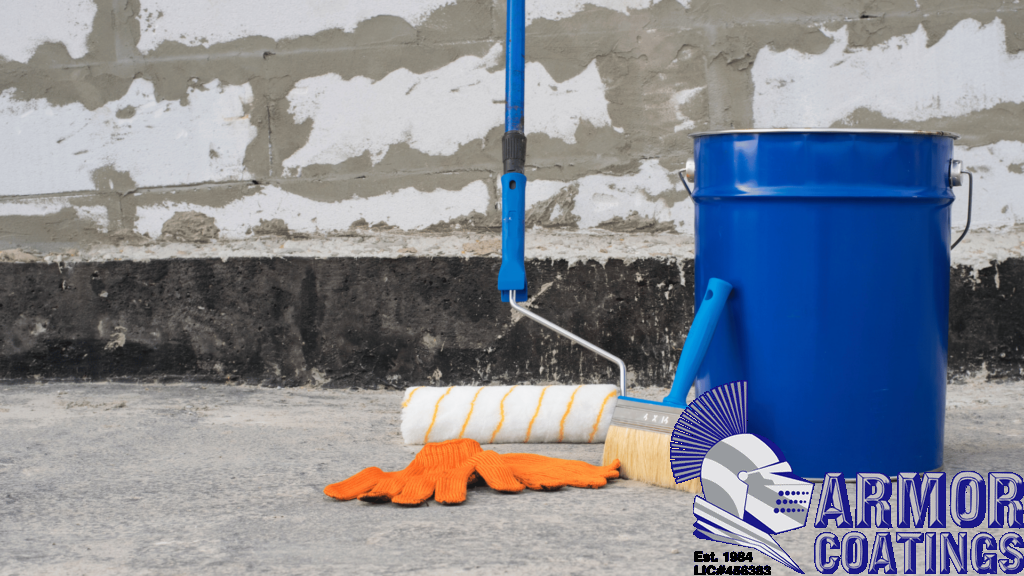
Applying sealer in multiple coats during concrete polishing can help enhance the concrete surface’s durability and appearance. Here are some general steps to follow:
- Apply the sealer: Once the surface is polished, apply the sealer in a thin and even coat using a sprayer or roller. Allow the sealer to dry completely before applying another coat.
- Repeat the process: Depending on the desired level of protection and shine, repeat the process of applying the densifier and sealer in multiple coats until the desired result is achieved.
It is important to follow the manufacturer’s instructions for the sealer product that you are using, as the application process may vary depending on the product. Additionally, make sure to wear proper protective equipment, such as goggles and gloves, when applying these products.
Stage 5: Finishing touches
The finishing touches you apply will greatly depend on your preferences. For insurance, if you want to get creative with the surface, you can apply stain or dye to give it a more unique appearance. You can also burnish the surface to improve the shine and make it more glossy.
After polishing your floors and adding the desired stain or dye systems, you should end by cleaning the surface after it has become dry. Wash with your mop and a non-toxic soap to get any extra debris off the surface.
Stage 6: Maintaining polished concrete
Any homeowner knows how important it is to keep surfaces clean. Proper, regular maintenance will help your floor retain its shine and beauty for years and also prevent it from getting damaged.
Tips for keeping the surface clean
Here are some tips for keeping your polished concrete surface clean:
- Sweep or dust mop regularly: Regular sweeping or dust mopping will help prevent dirt and debris from scratching the surface of the concrete. Make sure to use a soft-bristled broom or dust mop, as stiff bristles can scratch the surface.
- Clean up spills immediately: Spills can leave stains on polished concrete if left to sit for too long. Clean up spills as soon as possible with a damp cloth or mop.
- Use a neutral pH cleaner: When it’s time to clean the surface, use a neutral pH cleaner that is specifically designed for polished concrete. Avoid using acidic or alkaline cleaners, as they can damage the surface.
- Avoid abrasive cleaners: Avoid using abrasive cleaners or scrubbers on the polished concrete surface, as they can scratch the surface and dull its shine.
- Use a microfiber mop: When mopping the floor, use a microfiber mop. Microfiber is gentle on the surface and can pick up more dirt and debris than traditional mop heads.
How often to reapply sealer
Generally, it is advised that you reapply a concrete sealer once every two to five years to help keep the surface durable, shiny, and beautiful. However, the frequency of reapplying the sealer should depend on a few factors, including the maintenance level, the environment, and certain other factors, such as how you use the floor.
Reapplying a sealer is not costly, neither is it labor-intensive. However, if left to deteriorate too far before taking action, you may require the whole process of concrete polishing all over again, which is more costly and labor-intensive.
Conclusion
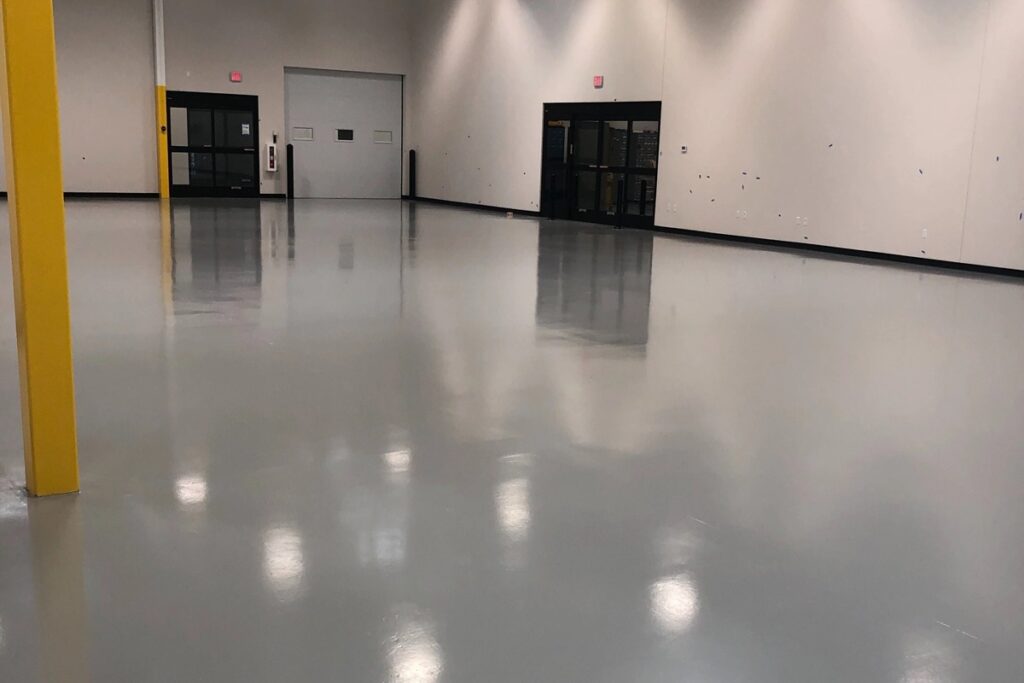
Looking for a reliable and professional concrete polishing company in California? Look no further than Armor Coatings! Our team of experienced professionals is dedicated to providing you with top-quality concrete polishing services that will transform your concrete floors into stunning and durable surfaces.
With our state-of-the-art equipment and proven techniques, we can achieve a high-gloss finish that not only looks great but also resists stains and wear over time. Our team is fully licensed and insured, ensuring that you can trust us to deliver excellent results with no hassle or risk to you.
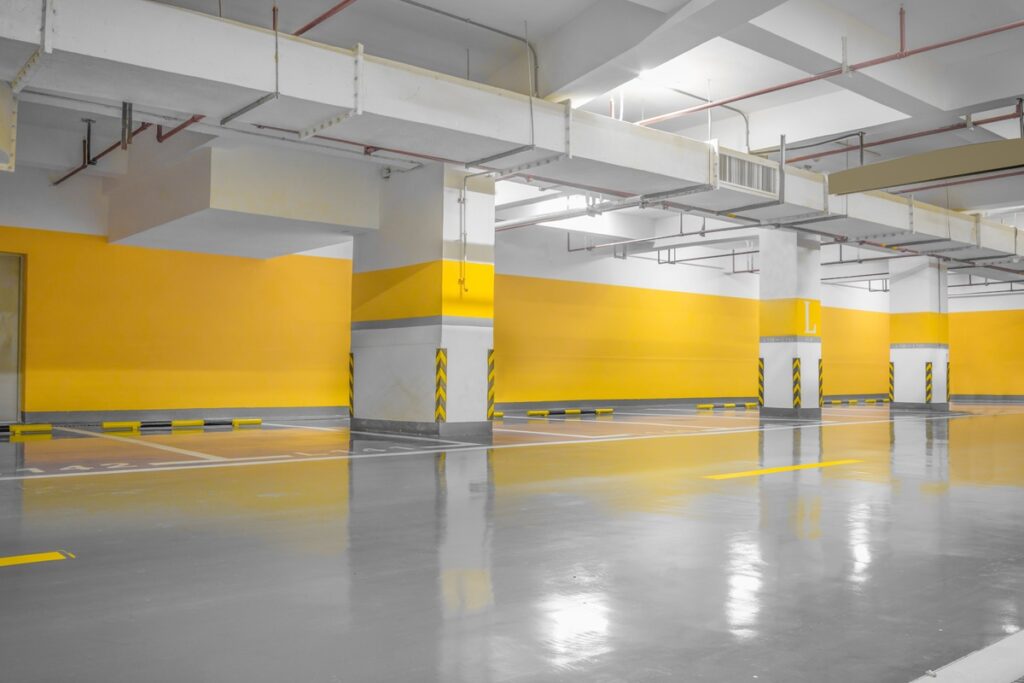
At Armor Coatings, we take pride in offering personalized service that meets your specific needs and budget. Whether you’re looking to polish your residential garage, commercial warehouse, or anything in between, we can help you achieve the perfect finish that will last for years to come.
Don’t settle for less than the best when it comes to your concrete polishing needs. Contact Armor Coatings today to learn more about our services and to schedule a consultation with one of our experts. We look forward to working with you and helping you achieve the beautiful, polished concrete floors you deserve!